Note
Go to the end to download the full example code.
Extrude a 2D mesh to 3D#
This example shows how to extrude a 2D mesh to 3D. This can be helpful for closed laboratory geometries for example. If you are looking for more flexible ways to create 3D meshes, have a look at TetGen and Gmsh.
import numpy as np

import pygimli as pg
import pygimli.meshtools as mt
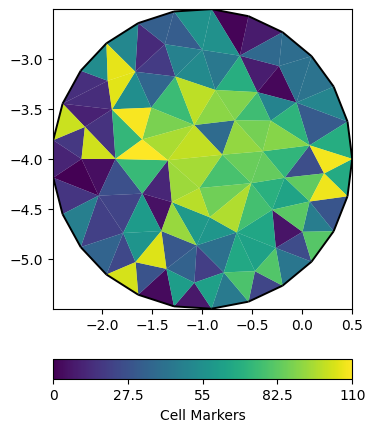
We start by generating a 2D mesh.
plc = mt.createCircle([-1, -4], radius=1.5, area=0.1, nSegments=25)
circle = mt.createMesh(plc)
for cell in circle.cells():
    cell.setMarker(cell.id())
ax, cb = pg.show(circle, circle.cellMarkers(), label="Cell Markers")
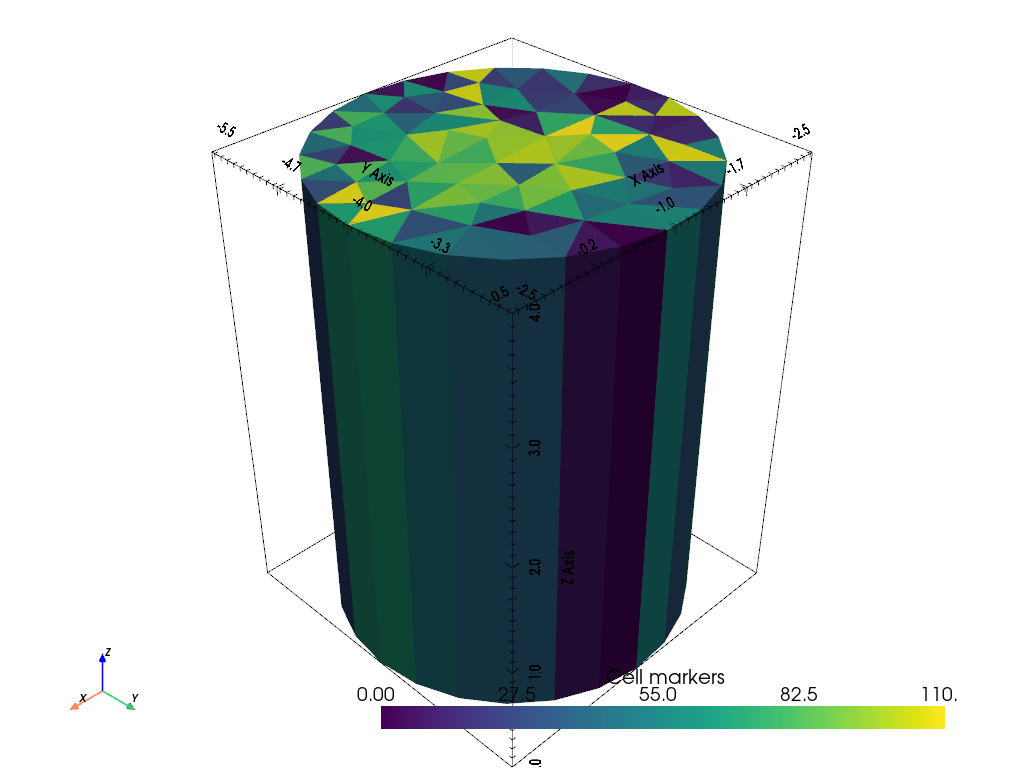
We now extrude this mesh to 3D given a z vector.
z = np.geomspace(1, 5, 5)-1
cylinder = pg.meshtools.extrudeMesh(circle, a=z)
pg.show(cylinder, cylinder.cellMarkers(), label="Cell markers")
/home/florian/actions-runner/_work/pyGIMLi/pyGIMLi/source/pygimli/viewer/pv/vistaview.py:117: UserWarning: Not within a jupyter notebook environment.
Ignoring ``jupyter_backend``.
  plotter.show = lambda *args, **kwargs: plotter.__show(

(<pyvista.plotting.plotter.Plotter object at 0x7fa6b4114750>, None)